Workflow: Annotate On-the-Fly in PRESENT
Applies To: TrialDirector 360, PRESENT
In this article
Review the Prerequisites
1. Create a Case
2. Add Documents to a Case
3. Assign a Trial Exhibit Number
4. Open a Case in PRESENT
5. Load a Document Using Keyboard Shortcuts
6. Annotate a Document in PRESENT
Related Topics
This topic contains high-level procedures to help you create a case, import documents, and view and annotate those documents in PRESENT.
The following illustration shows the basic process outline. The numbers correspond to the procedures later in this topic. You can click on the numbered steps in the image to jump to a specific task in the workflow.
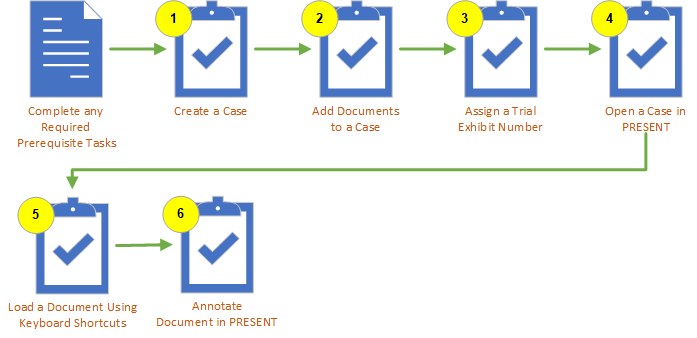
The basic workflow diagram, above, and the tasks that follow outline one way you can create a case, import documents, and view and annotate those documents in PRESENT. This is the standard, most basic, method for doing so. There may be alternative ways to complete the same process.
|

|
Tip: To make it easier to find the procedures you need, the procedures are collapsed. If you want to expand a procedure, click the triangle next to the procedure title to open and close the detailed information.
|
The following table shows the prerequisites that must be in place before you start.
The first step in the process of using TrialDirector 360 is the creation of a case. After a case is created, you can import documents, and view and annotate those documents in PRESENT.
To create a case, open CASE MANAGER and follow the steps below:
-
Click the Create Case button.
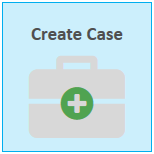
The Create Case wizard appears.
-
Progress through the steps of the wizard.
Fill in the information on each step of the wizard and click the Next button to progress to the next step.

|
Note: Only the case information on the first step, Case Details, is required to create the case. The other steps, Issues, Team Members, and Parties, are only included for your convenience. You will be able to add or import issues, invite team members, and add parties after the case is created.
|
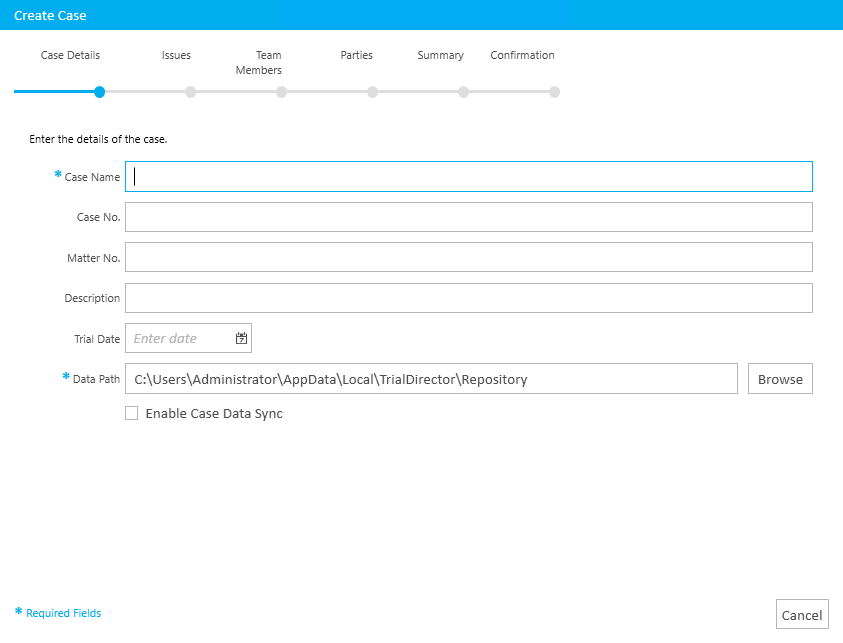
The following information can be entered in the Case Details step:
-
Case Name - The name the you want to assign to the case
-
Case Number - The case number assigned to the case
-
Matter No. - The matter number assigned to the case
-
Description - A short description of the case
-
Trial Date - The date the case is expected to go to trial
- Data Path - The location where the case database will be stored. If you plan to work collaboratively as a team on the case, all team members must have access to the Data Path entered in this field.
- Enable Case Data Sync - Check this box to turn on data sync for the case. In order to work collaboratively on a case, the case must have the Enable Case Data Sync field checked during the case creation process. You cannot change a local case to a Data Sync-enabled case after the case has been created. For more information on Data Sync, see Overview: Data Sync.
-
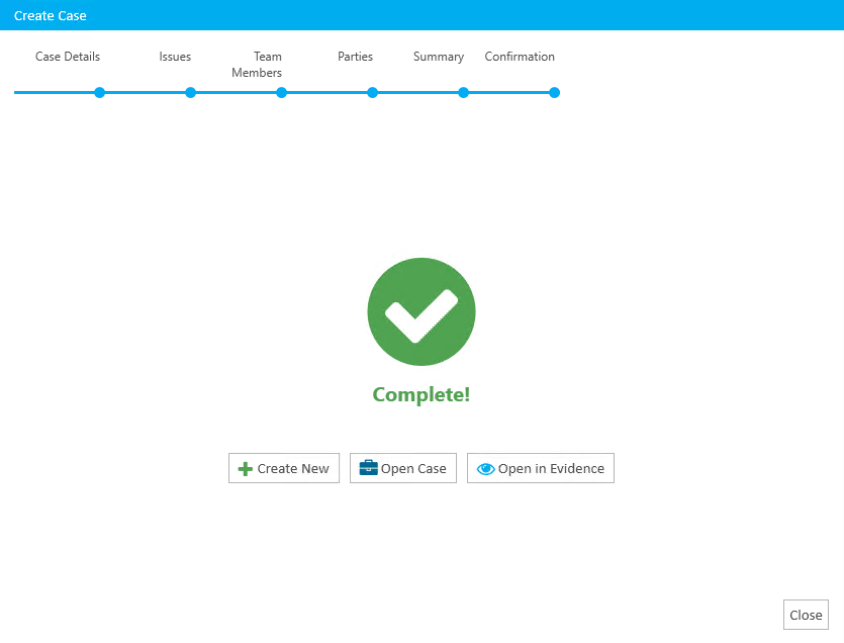
When you arrive at the Summary step, click the Create button.
After you click the Create button, the case is created and you can choose from the following options on the Confirmation step:
-
Create New - Create another new case
-
Open Case - Open the case you just created in CASE MANAGER
-
Open in Evidence - Open the case you just created in EVIDENCE
The easiest way to add a document is the drag and drop method. For instructions on how to complete this process, follow the steps below:
-
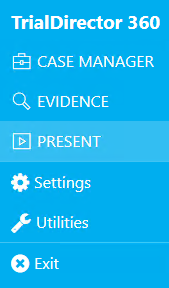
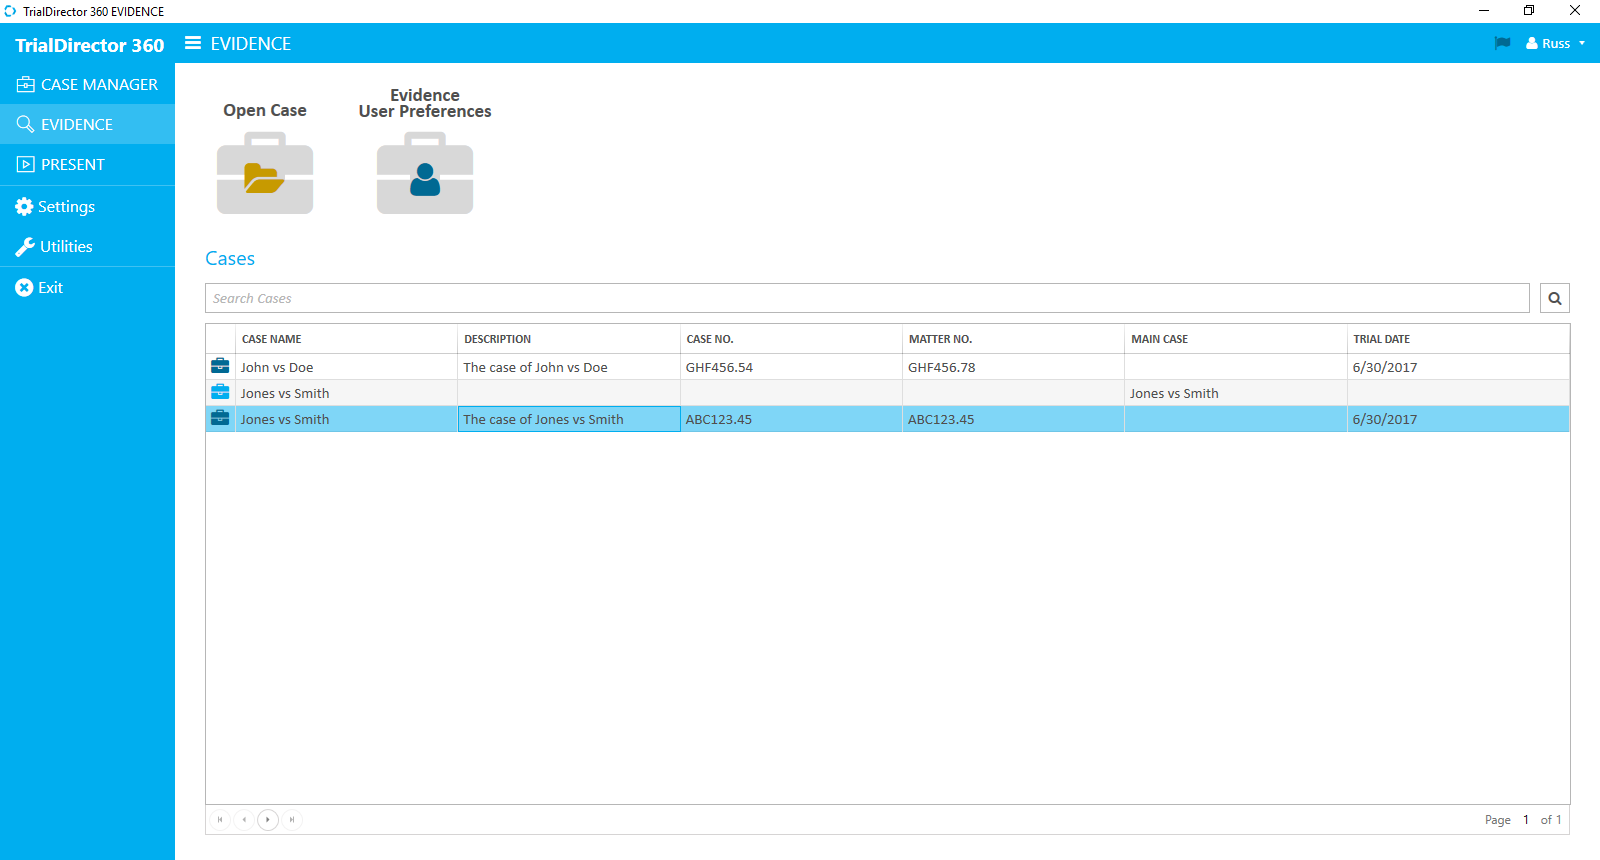
If you are not already working in EVIDENCE, click the EVIDENCE tab in the left navigation panel.
-
Open the needed case by double-clicking the case name in the Cases table. Alternatively, you can select the appropriate case name, then click the Open Case button in the ribbon bar above the table.
-
Locate the necessary file in the local file explorer.
|
|
Note: You may also drag files directly from your desktop.
|
-
Hold left click on the file and drag the file over to the TrialDirector 360 EVIDENCE Documents Explorer.
-
Release left click to drop the file into the Documents Explorer.
After dropping the file into the Documents Explorer, the Add Documents dialog appears.
-
Review the information in the Add Documents dialog.
-
Click the Add button.
The documents are added to the case.
To assign a trial exhibit number to a document, follow the steps below:
-
In the Document Explorer, click on the document that you want to add a trial exhibit number to.
- Click in the Trial Exhibit Number cell for the document.
-
Press F2 to activate the cell's edit mode.
-
Type in a trial exhibit number.
-
Press Enter.
The cursor moves to the next document in the grid, in the same field, and remains in edit mode.
-
Press ESC to exit edit mode.
To view a case in PRESENT, follow the steps below:
-
Click the PRESENT tab in the left navigation panel. (If working in a case in EVIDENCE and the left navigation panel is not visible, select the hamburger icon  in the top-left corner of the screen.)
- Select a case from the Cases table on the PRESENT Start Page.
-
With the case selected, click the Open Case button.

You can use your keyboard
to load items into Presentation mode by ID, Exhibit Number, or Trial Exhibit
Number. For example, if an exhibit is listed in the Documents Explorer with
a Trial Exhibit Number of TXE33:
-
Type in the Trial Exhibit Number, TXE33.
As you type the Trial Exhibit Number, the information you are typing appears in the lower-right area of the Presentation screen.

-
Press Enter.
The document appears in the Presentation window. The Document ID is listed in the top-left corner of the document.
TrialDirector 360 PRESENT gives you the flexibility to pre-treat items in Preview, or to make annotations on-the-fly while you present your case in the main Presentation window. Use any of the tools on the Presentation Toolbar to apply annotations, regardless of whether you're working in Preview or in Presentation.
-
With a document displaying in the window, click on a tool in the toolbar and begin annotating the document.
|
|
Note: Hover your mouse over an annotation tool to view the name of the tool.

|
-
Continue to annotate the document as necessary. For detailed information on each of the annotation tools as well as how to reposition the toolbar and save and load new toolbar layouts, see Use the Presentation Toolbar.
Related Topics
Display Items in Presentation
Use Presentation Preview
Use the Presentation Toolbar

 Review the Prerequisites